Audit Program 4.0 - User Manual
3. Client Acceptance & Sanction Screening:
Add New Clients:
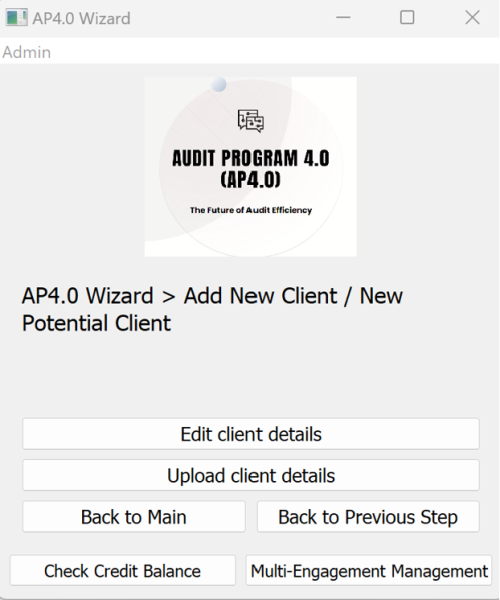
To add new clients or potential clients, follow the steps below after selecting “Step 0: Add New Client / Potential New Client” from the dropdown menu on the AP4.0 Wizard Home Screen and clicking “Next”. This process allows you to input client details in bulk for streamlined client management.
Add New Clients: Step-by-Step Instructions
1. Accessing the Clients Details File
On the new screen, click the “Edit client details” button. This will automatically open an Excel file named “bulk_client_name_upload“. This file is used to input or edit client names in bulk.

2. Understanding the File Layout
The Excel file contains six columns for data entry:
– Column A: Internal Client ID (Leave Blank)
– Column B: Client Name (for companies)
– Column C: Country of Incorporation (for companies)
– Column D: First and Middle Names (for individuals)
– Column E: Last Name / Surname (for individuals)
– Column F: Nationality (for individuals)
For audit clients, only complete Columns B and C.

3. Adding Multiple Clients:
Each row in the file represents a single client. You may add as many rows as needed to include all your clients in one upload.
4. Saving the File:
Once you’ve entered all the client details, save the Excel file. There’s no need to specify a location, as the program will automatically save the file to a pre-determined location. Simply click Save and close the file. Avoid using “Save As,” as this may create unnecessary duplicates or disrupt the program’s workflow.
